
What is the Mosaico Extension?
The Mosaico extension enhances CiviCRM's mailing feature by allowing you to create drop-and-drag mailings that are mobile responsive. You will still have the option to use the existing Mailing feature in CiviCRM and have access to your existing email templates.
If you still want to use the traditional CiviCRM mailing feature, to create an email, go to Mailings menu > New Mailing (Traditional).
If you want to use your existing templates that you created with the traditional CiviCRM mailing features, go to Mailings menu > Message Templates.
Here is a screen cast on how to send and schedule Mosaico mass emails.
Here is the link to the webinar recording for PowerBase online workshop on using Mosaico.
NOTE: Currently, we find that the Mosaico features work best with PowerBase when you are using Firefox as your browser.
To start using Mosaico Extension, the extension must be enabled once beforehand. If you have the proper permissions, you can go enable yourself, otherwise please email support and we will do it for you.
To create a new mailing, click on: Mailings menu > New Mailing.
1. Initial Settings
Enter information about your Mailing:
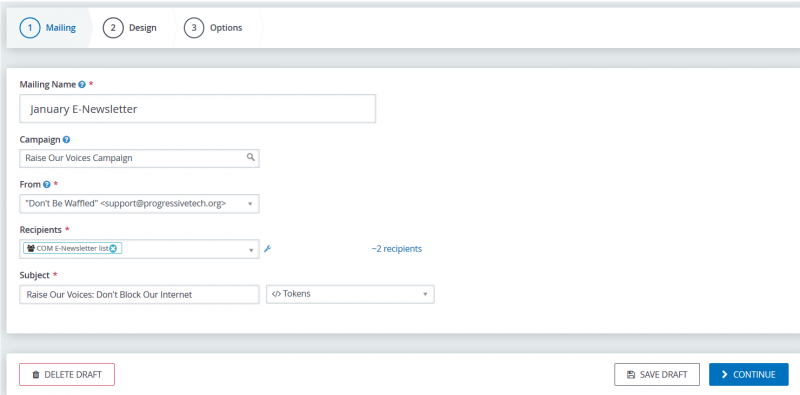
- Mailing Name (required): Enter a descriptive name for this mailing so you can locate it later
- Campaign Name (optional): select the campaign that is related to this mailing
- From (required): select the email that will be displayed as the Sender in the recipient's inbox
- Recipients (required): select the mailing list group(s) you want to send this email to
- Subject (required): the subject line of the email. Tokens may also be used in the subject line.
Click CONTINUE to go to the next step to design your email, or click SAVE so you can edit your mailing later.
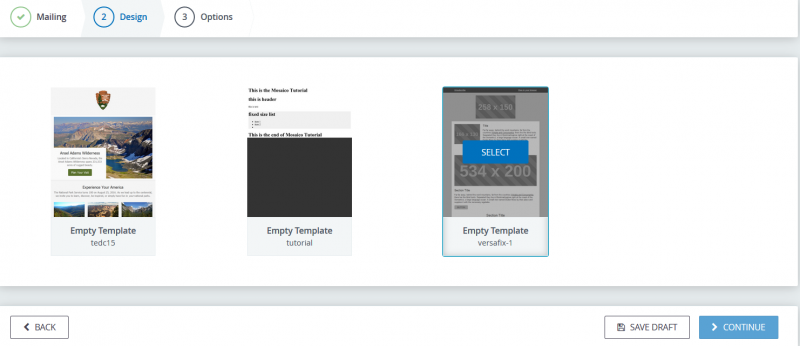
2. Choose a template
The next step is "Design" where you can select an "Empty Template" to start from scratch, or select an existing template. Hover your mouse over the template you want to start with and click SELECT.
In this example we will start from scratch by selecting "Empty Template versafix-1"
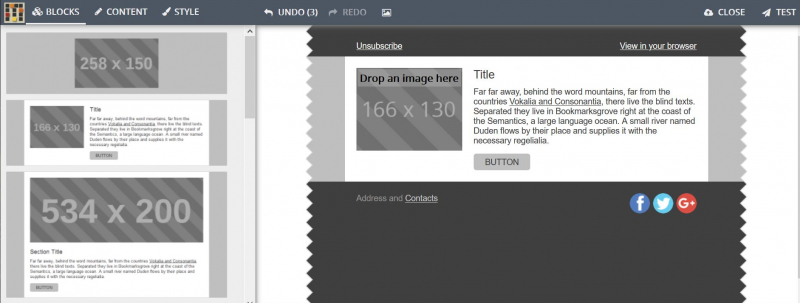
You will then be looking at the mail editor where on the left side you will see several format options made up of different design blocks to help you build your mailing in the content area, which we'll call the "palette":
3. Modify your template to create your mailing
From the Block menu, you can drop and drag the blocks you want to use from the left side OR you can click on the ADD button (the button will appear when you hover your mouse over the block) to add the block onto your mailing "palette" to assemble the look you want for your email.
Tip: We suggest building your email from the top down using the blocks. You always have the opportunity to move blocks around on your email template (palette) by clicking and dragging the blocks to rearrange them to your liking.
In this example, we'll select two blocks to build our template:
- Add a content block that includes an image on the left, and a Section Title, text area, and button on the right
- Then add a footer block that contains social media icons
So our palette will look something like this:
After you've selected the blocks you want to use for your design, you can now begin editing the content of each block.
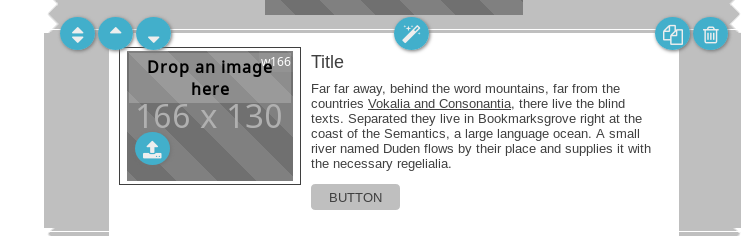
Editing a specific design block
To edit a specific design block, click on the block to select it.
Add an image
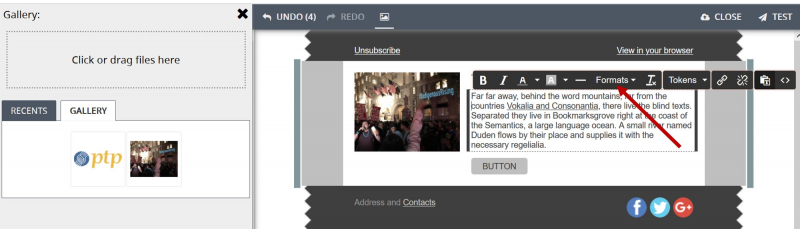
If your block has an area that says "Drop an image here" then it means you can add an image by either dragging one from your computer or clicking the blue upload icon.
TIP: You may find it easier to add an image by first clicking on the image area block you want to add, then go to the menu and click the "picture" icon, and it will open a GALLERY side box where you can upload an image or select an image to add. Just double click on the image and the image will added to the image area. This may cause less headaches if you're having issues with dropping and dragging the image.
- Can't find an image you used before in an older mailing, you can look at your images folder.
Add Text
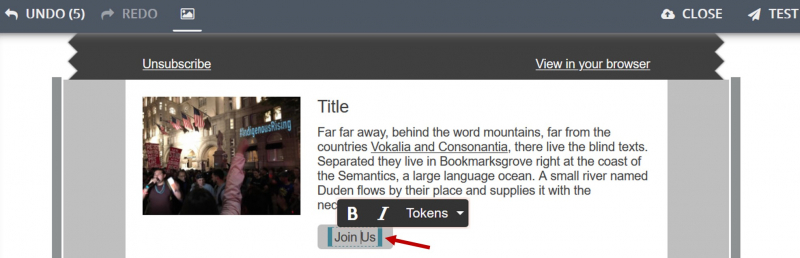
To add text, click on the text area itself and begin typing. You will see a formatting menu so you can change the style and color of the text.
To edit text on buttons, just double click on the button, and you can enter the text and format the text. To configure the link for the button, use the Style menu as discussed below.
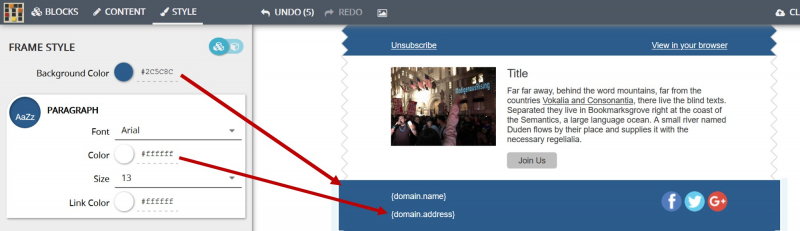
Change styles
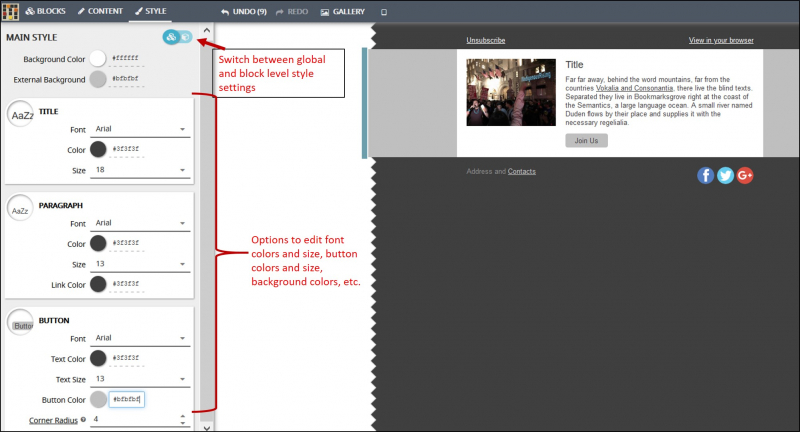
From the Style menu, you can change colors and fonts of text, buttons, and backgrounds and more within a specific block or for the entire mailing including all the blocks you've added. You first need to click on the block on your email palette to select it and then click on the Style menu:
- You can edit the properties to change the colors for the background, external background, text, links for buttons and images, and more.
- You can select the font and size of your text
- From the Style menu you can also switch between applying the styles to a specific block or globally (all the blocks in your template):
- Click on the "single cube" image to apply the style to a specific block only
- Click on the "multiple cube" image to apply the style globally (all the blocks in your template)
Change other settings
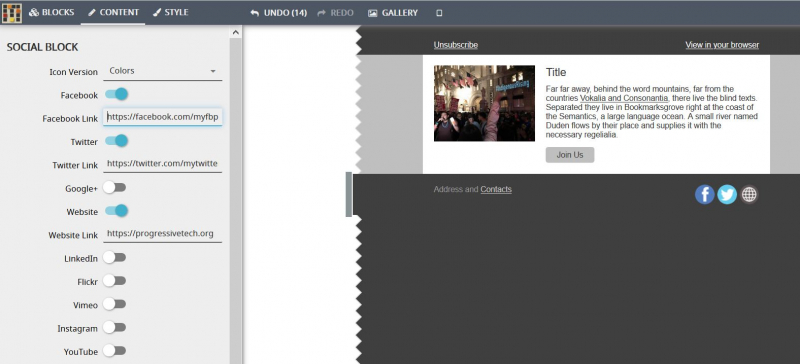
- From the Content menu, you can change the content options of a selected block in your mailing. You first need to click on the block on your email template (palette) to select it and then click on the Content menu :
- You can edit properties of images in certain blocks if applicable (e.g. links, image size, alternative text for the image) or
- You can edit the properties of the Preheader if applicable (where the "unsubscribe" or "view in browser" links appear) to show the block or edit the links
- you can edit the social media area of the "footer" block if applicable (e.g. you can choose which social media icons to display and edit the links, or decide to display the social media icons in color or in black & white)
In this example we selected the "footer block" and clicked on Content menu to edit the properties of the social media icons:
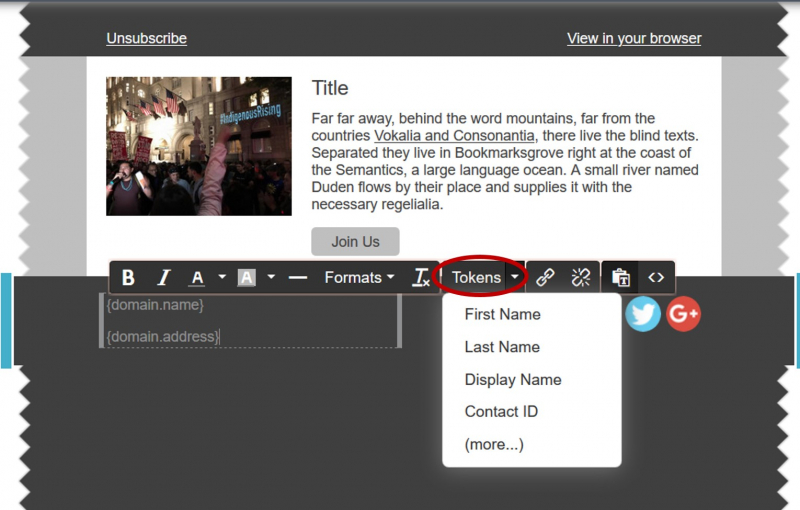
Adding Tokens by click in the text area where you want to display the tokens, and the format menu appears. Just click on TOKENS and select the tokens you want to add to email template.
Change colors of the background and text by clicking on the footer block to select the block you want to edit, then click on STYLE menu.
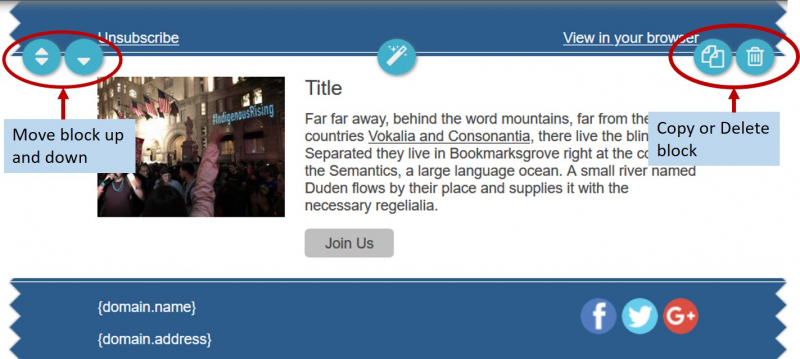
Moving blocks around
To rearrange or delete blocks, click to highlight the desired block, then use the up and down arrow images to move your block to the position you want in the palette, or click on the trash icon to delete the block from your email.
3. Testing Your Mailing
As with sending any mass mailings, you want to test your email to check for content and formatting. You need to be editing your email message to access the TEST link.
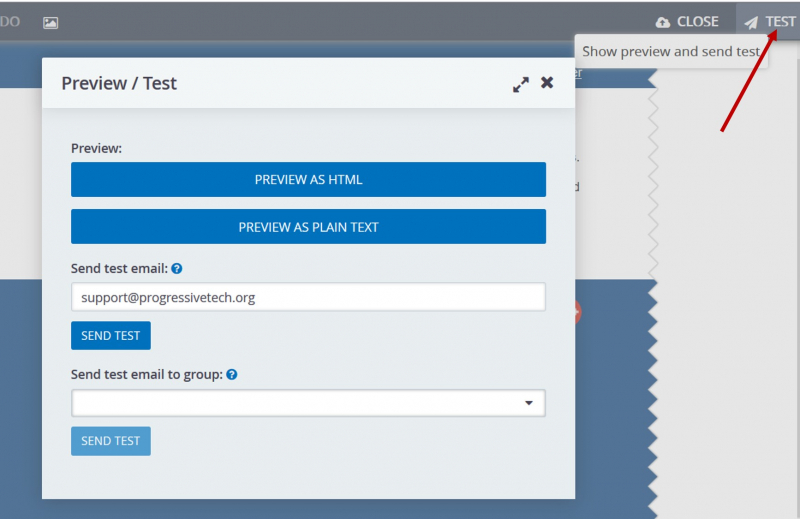
You can:
- Send a test email to an individual, like yourself, by entering an email address in the "Send test email:" field then click Send Test
- Send a test email to a group to help you proofread your email, by selecting the group you want to send to in the "Send test email to group:" field, then click Send Test
When you are done click the "X" on the Preview/Test window to close this window. Then click the CLOSE link when you're done with editing your Design.
You can then click the SAVE DRAFT button to save the email message and return later.
If you are ready to send or schedule the mailing, click the CONTINUE button to move to step 3. Options.
3. Other options
You are now ready to send or schedule your mailing to be sent.
You can decide to configure Advanced Mailing Options for:
- Attachments
- Responses
- Tracking
- Publications
These options have the same functionality and settings as the traditional CiviCRM mailing options, which you can find more details in the CiviCRM book here.
4. Sending Your Mailing
To send your mailing right away, select the option to Send Immediately and then click the Submit Mailing button.
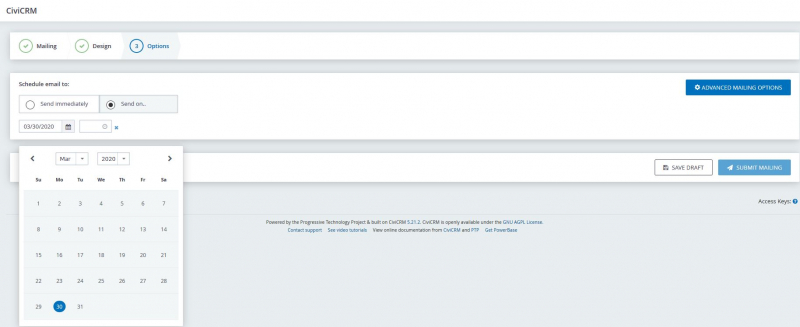
To schedule your mailing to be sent in the future select the option Send On, then select the date and time to schedule the mailing, and then click the Submit Mailing button.
5. Creating Templates
See the tip sheet and screen cast on working with Mosaico email templates.