
The Electoral API Extension on Powerbase is designed to automatically send one or more addresses in your database to a third party service and receive in return the electoral district information for that address. This district info is then inserted into the contact record, allowing you to search for contacts based on which electoral districts they reside in.
The Electoral API Extension does not provide individual voter registration information. It simply looks up an address and matches it to the districts in its database. The person at the address need not be a registered voter. Along with updating the election districts for your entire database, the extension can also be used in the online petitions module so petition signers can send emails to the elected officials that represent them. More here on that option.
Screen cast: Account Setup
This screen cast covers setting up a third party account to match address info with electoral districts. It explains how to copy your API key to Powerbase and common settings that go with your district lookup settings.
Screen cast: Perform a lookup
This screen cast covers how to configure your database to automatically update the district info for a group of contacts, including setting the scheduled job.
Screen cast: Searching and segment
Once you have added district information to your contacts, this screen cast guides you through searching and segmenting your database based on that district information.
Get a third party account
Before you can use the electoral extension, you must register with a third party account that will provide the address lookups.
You have a few options: Open States, Cicero and Google:
Open States
Note: Open States has been acquired by Plural Policy. But, there API and dashboard is separate. Be sure to follow the links below and do not try to get a Plural Policy login or login to the regular Plural Policy dashboard.
Open States is free! The only downside is that you can only lookup state legislative districts. Please try out their free online lookup with a few of your addresses to make sure they have reliable data for your state. If you are satisfied, you can sign up for a free account.
Once you have created an account, login here you should see an API key listed in our account settings:
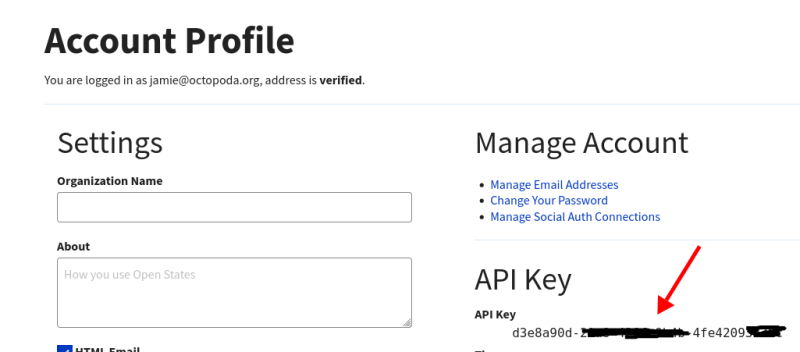
Record the API key (it will be needed later on).
Cicero
Cicero charges a small amount per lookup, but has the most reliable data for both state senators, state representatives and city council members. Note: Before buying any credits, be sure to test a few of your addresses using Cicero's online demo. They have generally good data, but do not have 100% coverage of city council.
The Cicero product is a paid service. Your organization pays per look up. At this time, the price is about 3 - 4 cents an address lookup, and the price drops per lookup depending on volume. For current prices, see the "API credits" section on the Cicero Pricing page. The previous discount offer for nonprofit groups available through TechSoup is unfortunately discontinued.
Once you decide to go ahead with using the Cicero application, the first step is to set up an account. Once you have an account you should be issued an "API Key", which is a long, random, password. To find your key, first click "My Profile":

Then, look for the "API Key" field.
Google Civic is also free, but the data is less reliable then Cicero and, maybe Google has enough of our data already?
Install the Electoral API Extension
If the Electoral API Extension is installed, you should see a menu item under Administer -> System Settings -> Electoral API. If you do not see that menu item, it will need to be installed. To install the extension, go to Administer -> Administration Console -> Manage Extensions. On the list of potential extensions, find the one called "Electoral API". Click on Install to add it to your system. If you encounter a problem, please contact support to have the extension installed.
Once installed, the extension must be configured before you can use it.
You can configure it by going to Administer -> System Settings -> Electoral API.
For the full instructions on configuration, please see the extension documentation.