Powerbase can create ID Badges
There are two methods to create ID cards in Powerbase.
The easiest and most flexible method works if your printer takes a single PDF at a time to create each card.
If instead you need to print cards onto sheets with multiple cards per sheet, you can still do it, but you have to use the Event Badge method and you will have far less control over the look and feel of each card.
One card per page
Using this process, you will create each badge individually. This process requires that you have a printer than can take a PDF and print a badge from it.
One printer that is known to work is the Fargo Dict 1250e.
Setup
PDF layout
- Start by creating a PDF layout for your ID cards.
- Go to
Adminster -> Communications -> Print Page (PDF) Formats - Click Add PDF Page Format.
- Enter a name (e.g. Badge ID). With the Fargo DIct 1250e you want to specify landscape. You can enter "1" for all margins (and adjust later after testing).
- For orientation, choose "Landscape"
Create a template
- Click
Mailings -> Message Templates - Click Add Message Template.
- Name the template something like "ID Badge"
- In the HTML Format box, click the "Source" button and paste in:
<table width="600px">
    <tbody>
        <tr>
            <td align="left" valign="top" width="200px"><img src="{contact.image_URL}" style="height:200px" /></td>
            <td align="center">
            <div><img src="https://replace.with.your/logo.png" style="width:80px" /></div>

            <div style="color: blue; font-size: 17px;">La Union del Pueblo Entero</div>

            <div style="color: blue; font-size: 17px;">Texas Membership ID</div>

            <h1>{contact.first_name} {contact.last_name}</h1>

            <h1>{contact.street_address}</h1>

            <h1>{contact.city}, {contact.state_province} {contact.postal_code}</h1>
            </td>
        </tr>
    </tbody>
</table>

<table width="600px">
    <thead>
        <tr>
            <th>Expires</th>
            <th>Birth Date</th>
            <th>Height</th>
            <th>Weight</th>
            <th>Hair Color</th>
            <th>Eye Color</th>
        </tr>
    </thead>
    <tbody>
        <tr>
            <td>EXPIRE-DATE</td>
            <td>{contact.birth_date}</td>
            <td>HEIGHT</td>
            <td>WEIGHT</td>
            <td>HAIR COLOR</td>
            <td>EYE COLOR</td>
        </tr>
    </tbody>
</table>
- Then, click the Source button again.
There are two broken images. The large one in the top left will be replaced with the image for the contact whose ID you are printing. The smaller image at the top in the middle should be your logo. Click on that broken image to upload your logo.
Add Image to a contact
- Next, look up a contact and edit the contact.
- Click the browse button next to "Browse/Upload image" and select a picture for the given contact. Save the contact.
Print the label
- Click the Activities tab for the given contact.
- Click New Activity and choose "Print/Merge Document"
- In the Use Template field, select "Badge Id"
- Replace the Expiration, Hair color and eye color with the appropriate values
- Click Download Document and send it to your printer.
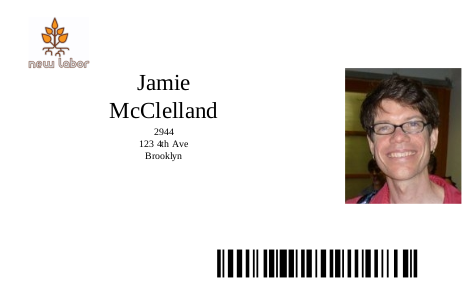
Sample output:
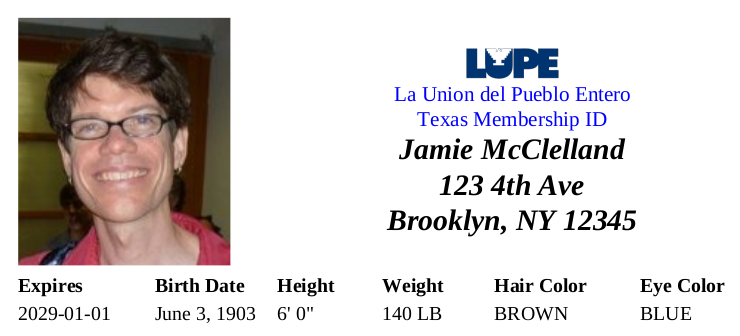
Multiple cards per page
If you need to print multiple cards per page, you can, using the Event Badge method. This method is designed to produce name cards for events, however, it can be used for any purpose, provided you create an event for that purpose.
The built-in label formats that are supported are:
- Avery 5395
- A6 Badge portrait 150 x 106mm
- Fattorini Name Badge 100 x 65mm
- Hanging Badge 3 3/4" x 4 3/4"
Create your label
Start by going to Administer -> CiviEvent -> Event Name Badge Layouts
Create a new layout, select your label format. Then, you can choose your logo and which fields should appear.
Create an Event and register contacts
Create a simple event - you can call it ID Cards.
Register everyone who should have an ID card for the event. Ensure they all have pictures added to their records.
Print Cards
When you are ready to print your cards:
- List all the participants for the event. Click
Events -> Manage Eventsand then click Participants to display the registered participants - Select all the found records and under Actions select: Name badges - print
- Select your Name badge format
Sample output: