Get yer template
If you have a support contract, and you don't yet have a "simple responsive" template, please let us know and we can generate one for you.
Using your template
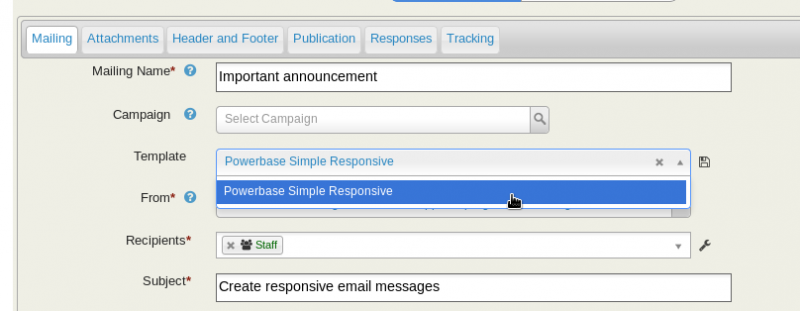
If you do have a template, you should see it listed from the template drop down menu when creating a mailing. Instead of "Powerbase" it may say the name of your site.
From here, you can edit any of the text that you want, inserting tokens like you would with any template.
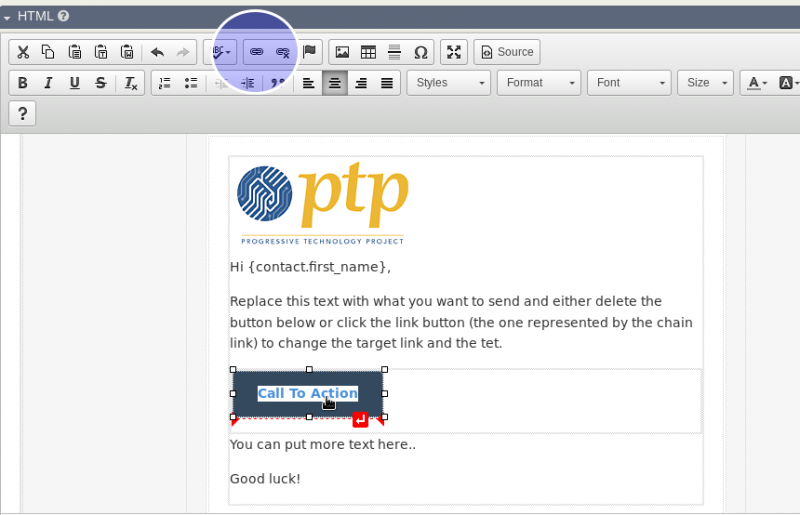
You can also delete the button if you don't want it or you can click on the button and edit the text.
Important! The button is a link that takes you to a specific page. If you want to change the link, click on the button and then click on the chain icon:
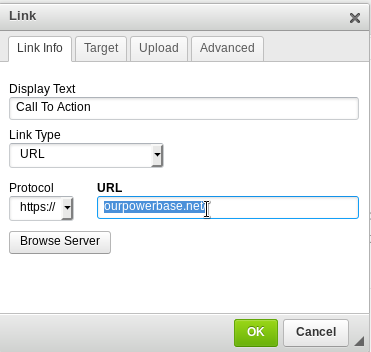
Then, enter the web page you would like the link to take you to:
You may also want to insert your own image.
By following these directions, you can ensure that your image won't be huge and take over the entire mailing.
However, it is recommended that you start with an image that is no more than 500px wide so it downloads more quickly.
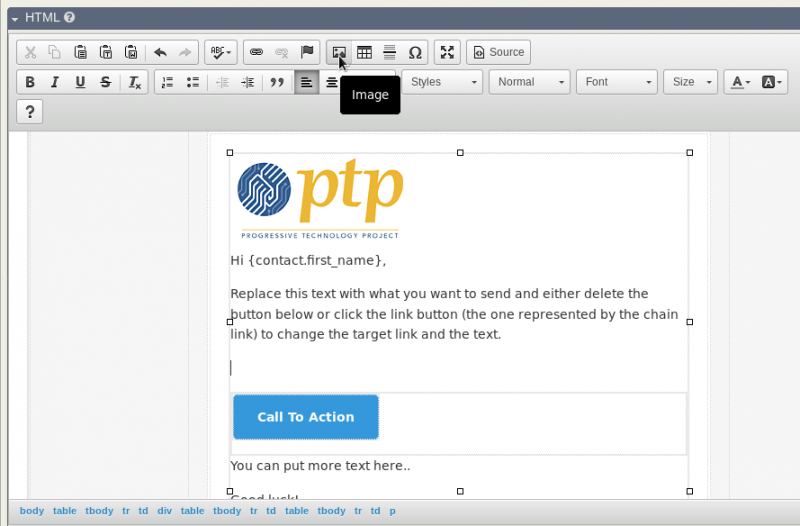
After clicking the image icon, click the "Upload" tab. After you select your image, be sure to click the "Send it to the server" button.
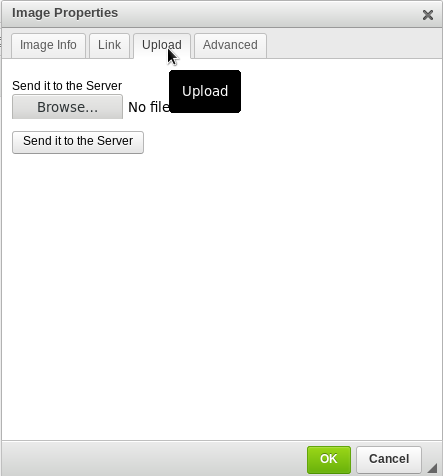
There are just two more adjustments to make to ensure your image displays at the right size. First, edit the "width" to say: 100% and delete the height.

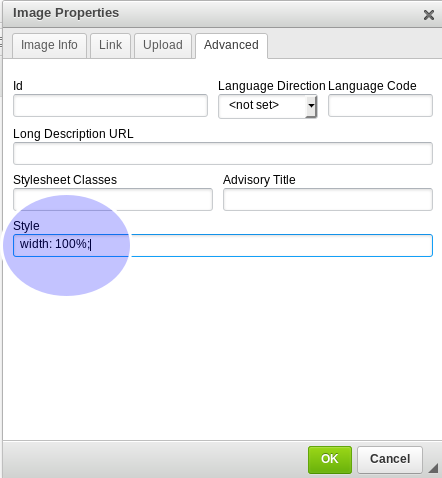
Lastly, click on the Advanced tab and add: width: 100%; in the style section.
Want to learn more?
There are lots of web sites that will give you tips on designing your email to fit all the possible email clients. If you really want to master sending email in PowerBase, it's a good practice to check out some of these resources
- Email Monks - Email Design Best Practices
- Email Monks - Email Design Checklist" (pdf)
- Email Design Review - Optimising html email for when Images are disabled
- Email Design Review - The Perfect Email Pre-header
- Litmus - Compare the look of your email on multiple devices
- Cerberus - Two responsive design email templates
- Litmus - Five responsive design email templates
